
How to Install the MagGrip 2Updated 6 months ago
How to Install the MagGrip 2
The heart of the MagMod modifier system is our MagGrip 2. It provides the base upon which our modifiers attach and work their magic. The MagGrip 2 contains two rare earth magnets that are used to attach the MagMod line of flash modifiers including the MagGrid 2, the MagSphere 2, our Pro Gels series, and more! And thanks to its elasticity and carefully crafted universal design, the MagGrip 2 will stretch around the head of most modern flashes.
To see a compatibility list of flashes verified to work with the MagGrip 2 and our MagMod modifier system, please see our article Will MagMod Work With My Flash?
We know that when you first get your MagGrip 2, you might struggle a bit with that first installation attempt. The fit is meant to be snug, so it happens to the best of us. But the good news is that once it is situated on your flash, there's no real need to remove it again. So, if you're struggling to install the MagGrip 2, check out the instructions below or scroll down a little to watch a handy video that shows the best and easiest way to install it!
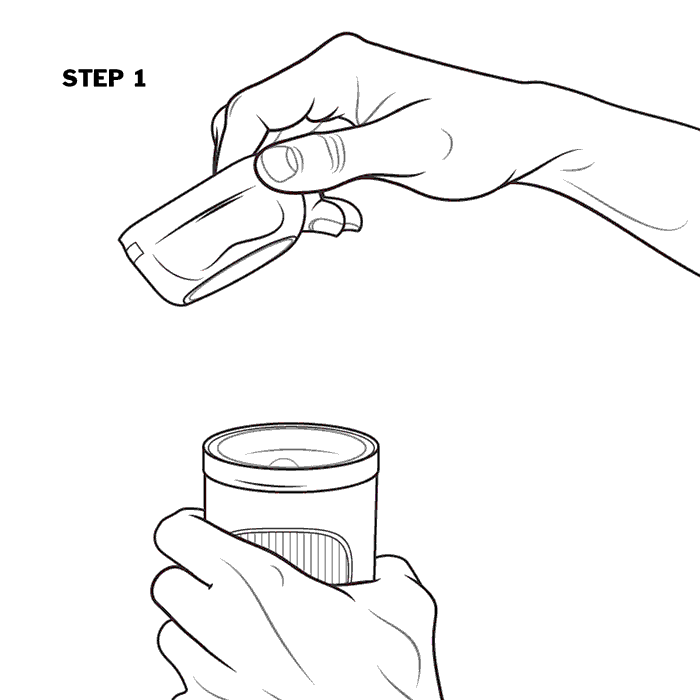
Step 1: Place the MagGrip 2 in your dominant hand and your flash in your non-dominant hand.
Step 2: With the lightning bolts facing up, hook one end of the MagGrip 2 on your flash.
Step 3: Place the thumb from your dominant hand on the opposite side of your flash from where you hooked the MagGrip 2. Place two fingers inside the MagGrip 2 from the top.
Step 4: Push with your thumb and pull with your fingers at the same time stretching the MagGrip 2 over the flash head. It's ok if you don't get it on fully.
Step 5: Work the MagGrip 2 into the final position being flat with the flash head, and your done!